
System Installation & Upgrade Procedure
More Information
|
|
ELFOS
System Installation & Upgrade Procedure More Information |
|
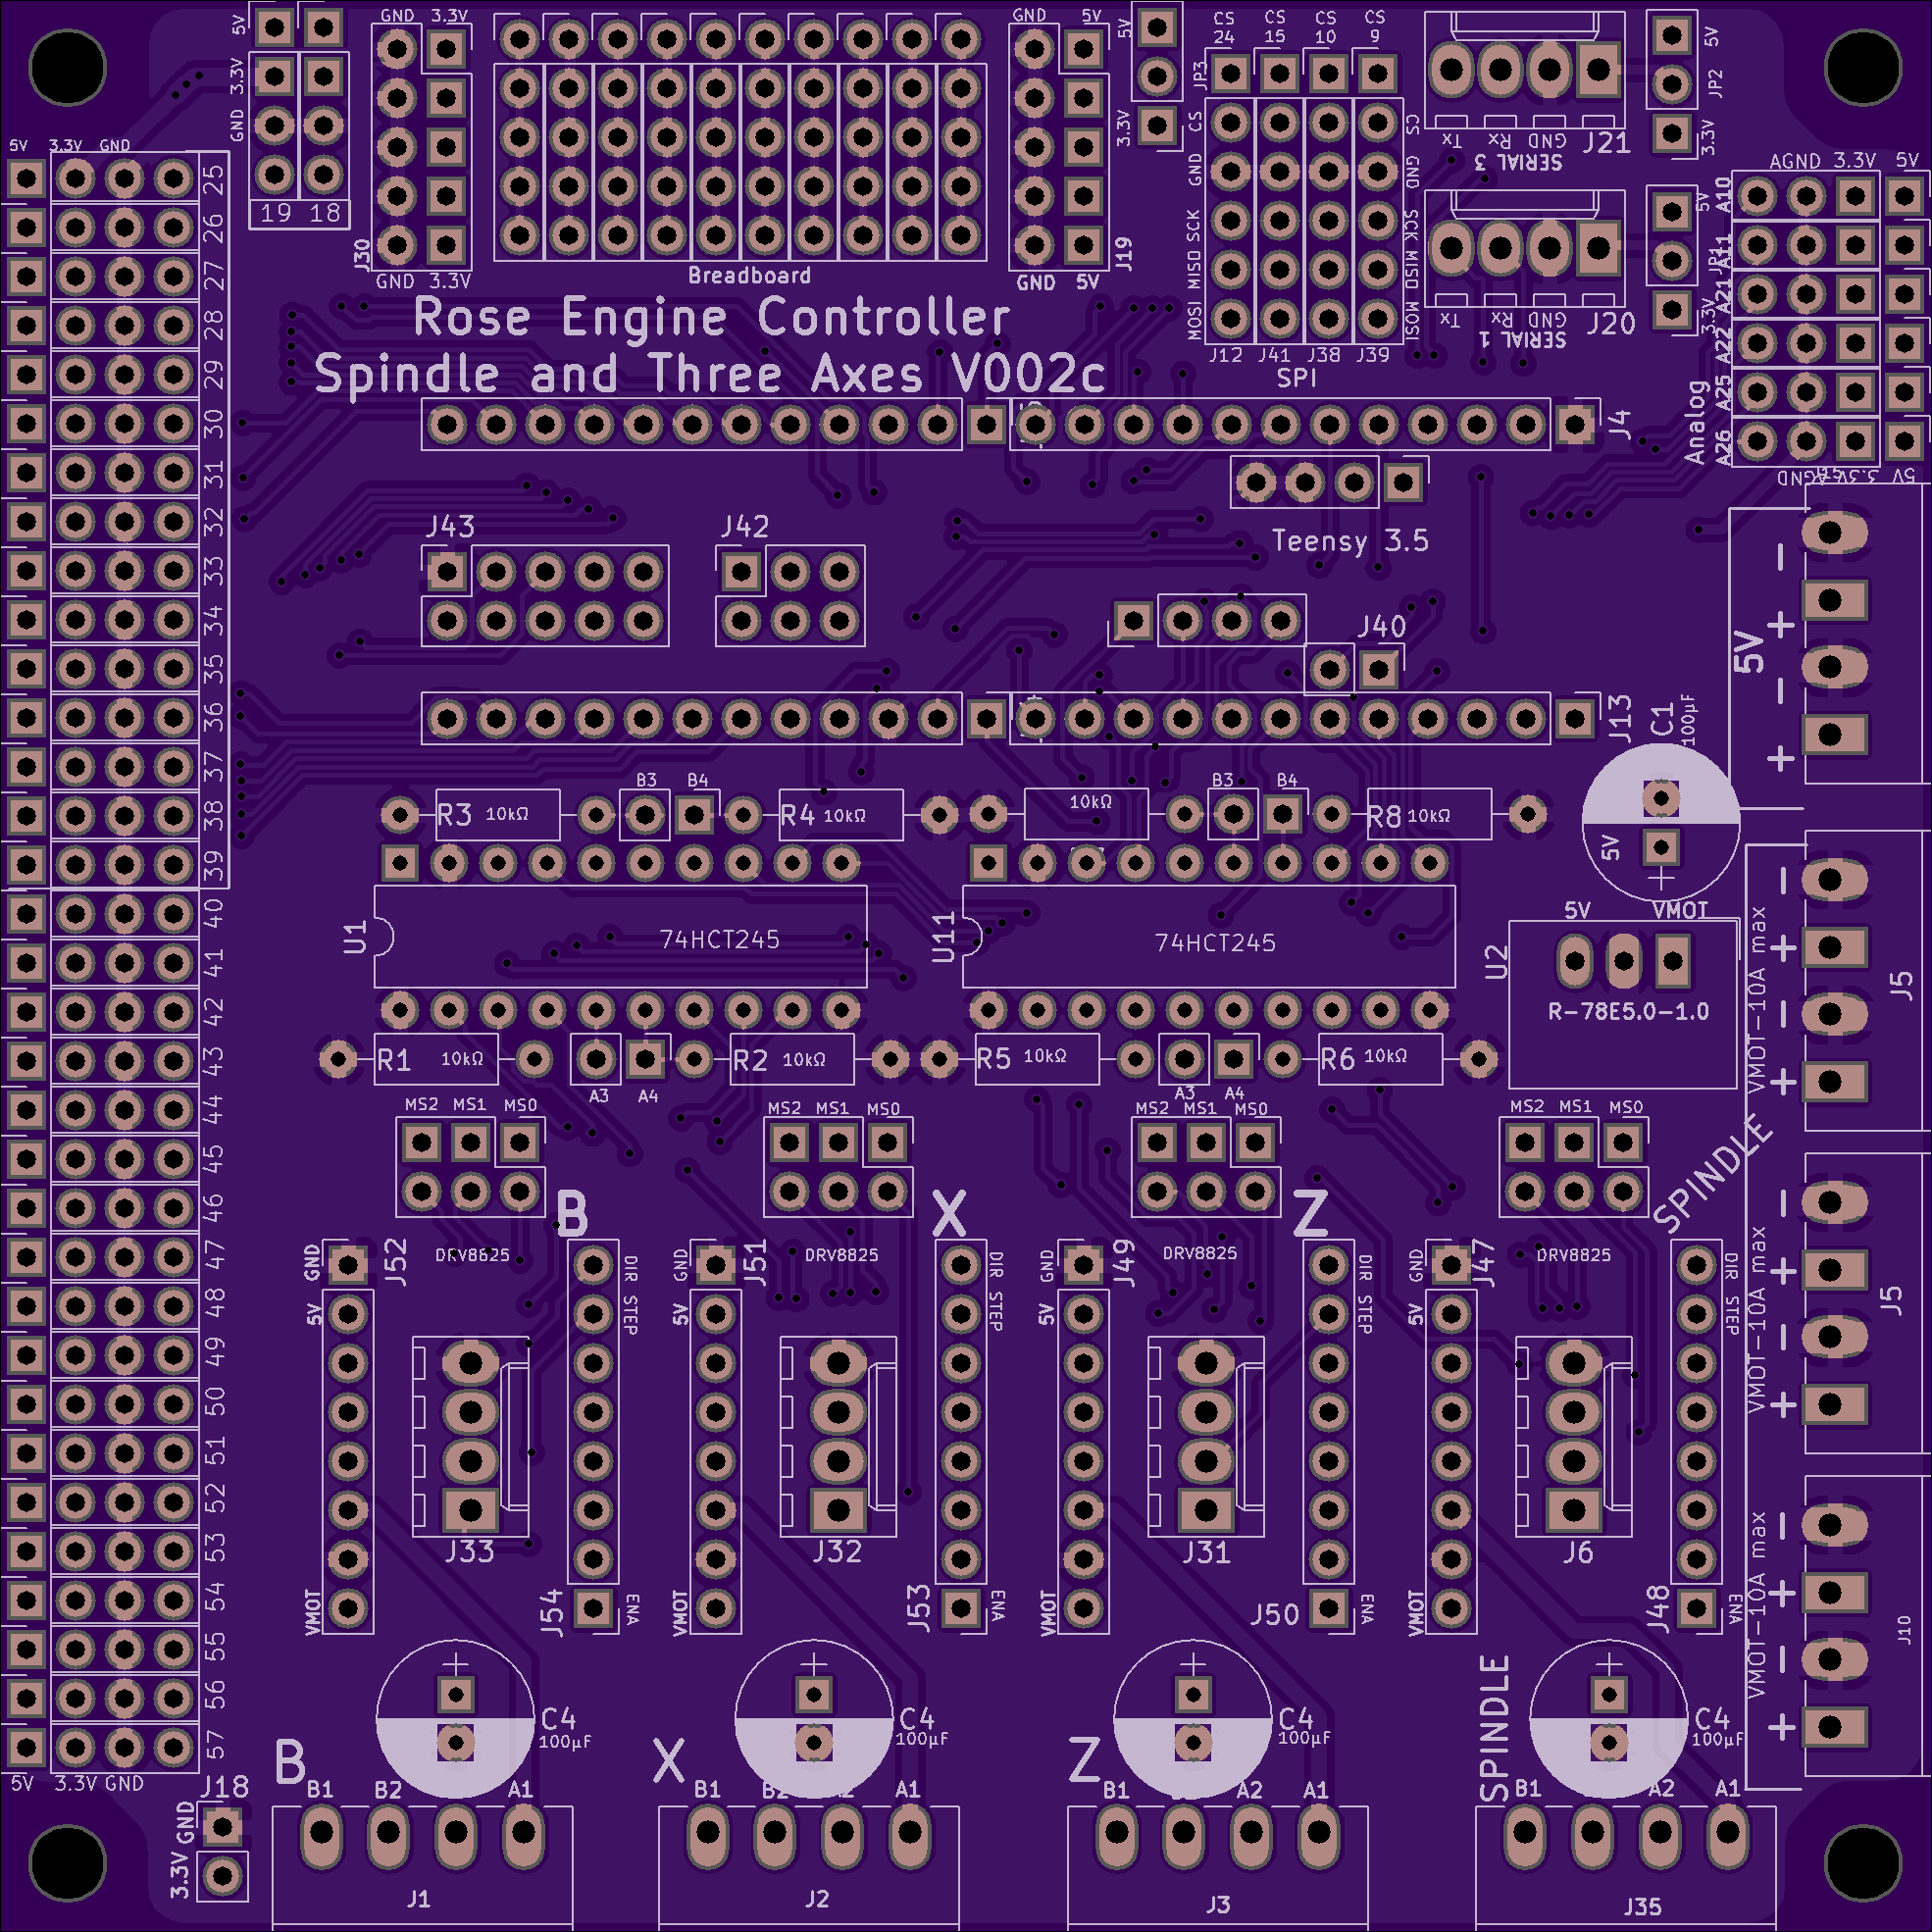
The specific printed circuit board (PCB) you are using will matter for these instructions. The two current boards are shown in the images to the right, though the color of your board might be different.
| 4 Axis Board |
Text on the board reads There are 4 bi-color circles along one side of the board (shown on the bottom of the picture to the right). |
|
| 5 Axis Board |
Text on the board reads There are 5 bi-color circles along one side of the board (shown on the bottom of the picture to the right). There is also a version of this board with surface-mounted shifters; that one is typically blue. |

|

The Teensy 3.5 is the most common, however if you are unsure of which one you have,
The code library used for programming this system has not been successfully upgraded for the Teensy 4.1. Once Ed gets that completed, we will post the upgrade.
It is a best practice to right-click on the link for your appropriate Teensy model, then ensure the file is saved with the file name noted. For example, if you are trying to download the file for the Teensy 3.5, ensure it gets saved as "5Rose_v305_t35.hex". This is because some computer systems will add ".txt".to the end (e.g., making it "5Rose_v305_t35.hex.txt").
The 4.3" Enhanced is the most common, however if you try the wrong file it won't load. The Nextion display will not let you load the wrong one.
The Nextion Intelligent displays require a higher voltage than the Nextion Enhanced series. This can be a problem which may cause the Teensy to fail due to over-voltage on the input pins. This is particularly true for the on the Teensy 3.6, and will be similarly for the Teensy 4.1.
The 5-axis PCB was designed with a Pololu 2595 daughter board for handling the voltage differences.
The 4-axis PCB can theoretically be used if you are using a Teensy 3.2 or 3.5. But the higher voltages for the Nextion Intelligent display do make this risky.
If you have the 4.3” Nextion Enhanced display or especialy if you have the 5” Nextion Intelligent display, then you should.
Over time, the 5” display may be deprecated, and the 7” display is nicer. The case for the 7” Nextion Intelligent Display which can be 3D printed is available on Ed's Github Page in the Nextion folder. Or, you can look in the MDF Rose Engine 2.0 Library at the book for 3D Printed Parts.For some Teensy 3.2s, we have a problem loading the INI file. These two settings cannot be changed using the Nextion display, and are set to VendorId=4 and MotorCount=5.
Here is some background information to explain things. ELFOS consists of two computers which talk to each other via a serial connection (Rx <-> Tx, Tx <-> Rx):
When a change is made on the Nextion display, that change gets sent to the Teensy microcontroller. Then the Nextion display requests the value of the setting on the Teensy microcontroller, and receives a response back with it.
That is why the EEPROM function in ELFOS is needed. It shows what each setting is on the Nextion display (in the yellow box) vs. on the Teensy microcontroller (in the gray box). If they don't match, you can change (or simply re-enter) the setting on the Nextion display and then re-check the EEPROM function. The two should match then.
Sometimes, when a machine is newly built, the setting for the Teensy microcontroller will show "Ovf" when there is a value for that setting on the Nextion display. You can change the setting in the Nextion display, and that should change the setting in the Teensy microcontroller to match.
As implemented in the code for both the Teensy microcontroller and the Nextion display, there are only two settings which could not be set from the Nextion display:
VendorId is not critical as that simply sets the splash screen at startup. Once you go into some function and go back to home, it shows other pictures of stuff someone has made.
MotorCount is another issue though. That is set to either 4 or 5, depending on the number of axes on the PCB. The one you have supports 5 axes. If this is set to 4, then no menu settings show up on the Nextion for M4; only Spindle, X, Z, and M3.
What Ed has done is set
These would have otherwise been set by the INI file load, but as that is not working for some, we are locking them down to these values.
|
Questions or comments? Contact us at
ColvinTools@Gmail.com |
Disclaimers |